

Servings : Makes 12
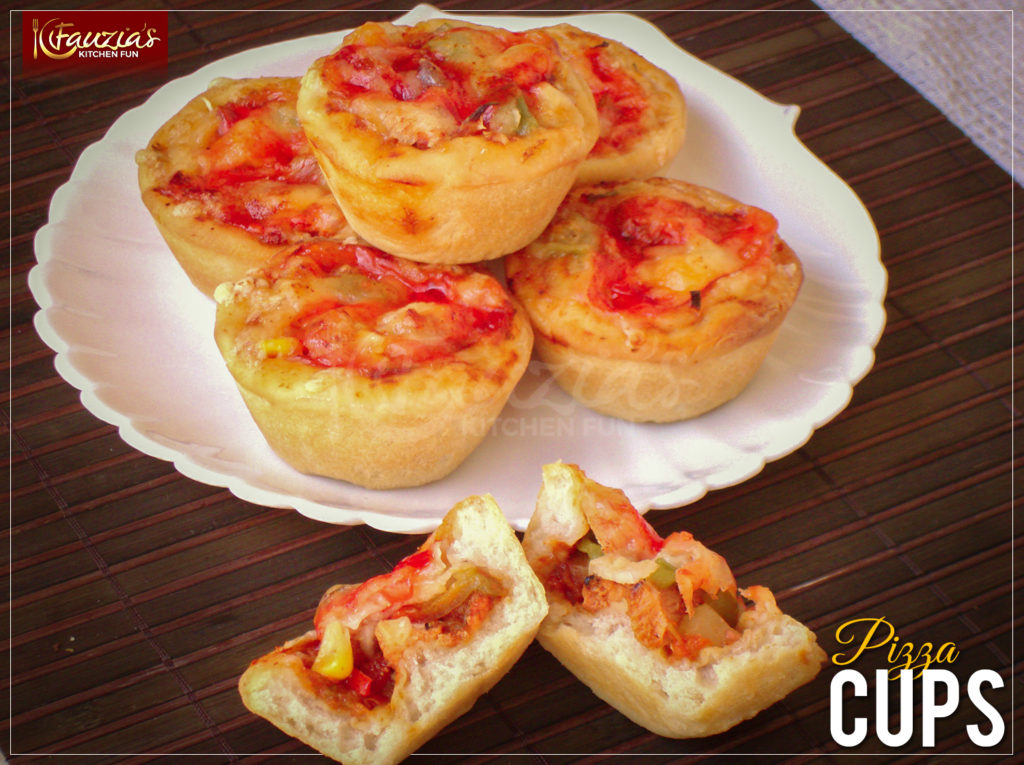
An interesting and fun way to present your pizzas. These cute little pizza cups will delight anyone, especially kids. Perfectly shaped and easy to handle, they make for a great addition to lunch boxes or for picnics and road trips.
Ingredients for Pizza Dough
- 2 1/2 cups all purpose/plain flour
- 1 1/2 tsp. salt
- 5 tbsp. oil
- 1 1/2 tsp. sugar
- 1 1/2 tsp. instant yeast (use 2 tsp. for colder climates)
- 2 pinches baking powder
- warm milk with a bit of water for kneading
Other Ingredients
- filling of choice (options given in Instructions below)
- pizza sauce (recipe link given below)
- 1 cup mozzarella and cheddar cheese (or as needed)
Instructions
Mix all the dry ingredients and the oil, then slowly start adding the warm milk a little at a time. Get it to a soft dough, the softer the better, knead it very well for at least 8 minute or more if possible.
Dab a touch of oil all over the dough, then cover it and place it somewhere warm. Leave it to rise to double its size, takes about 30 minutes to an hour depending on the weather.
Once ready, punch down the dough and then divide it into 12 equal balls.
Grease the cups of your cupcake pan lightly with oil.
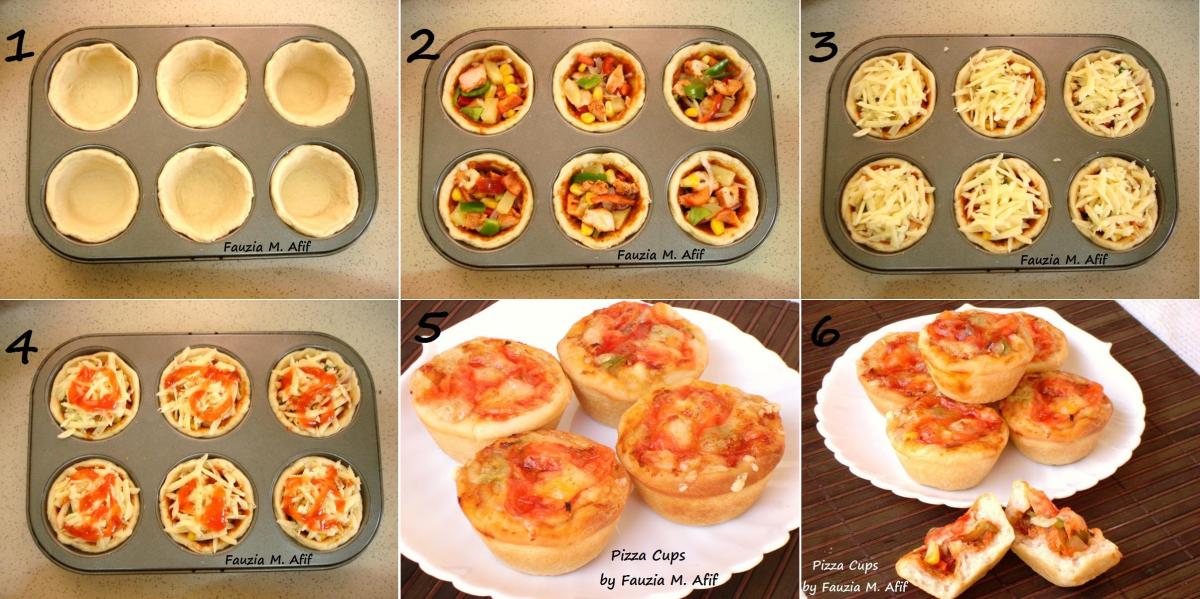
PIC 1: Roll each dough ball out into a circle of about quarter inch thickness, then gently place it in the cup hole of the pan, patting it gently to fit the shape. Repeat with the rest of the balls.
PIC 2: Next, spread a light layer of pizza sauce in each cup (recipe HERE) Then add the fillings you plan on using, just make sure you are not using a soggy filling (I used THIS one, plus some of THESE extra toppings).
PIC 3: Scatter some cheese over the filling
PIC 4: Finally, drizzle some ketchup over the top of each cup.
Allow the pizza cups to rest and rise for 20 minutes, then preheat the oven at 180 C. Bake them for about 15 minutes or until the cheese is bubbly and the dough is cooked through.
PIC 5-6: Remove the pizza cups from the pan and allow them to rest on a wire rack to cool slightly before serving. These delicious cups can be frozen for up to 2 weeks.
Enjoy! 🙂


Assalamu Alaikum Ms. Fauzia,
Assalamu Alaikum Ms. Fauzia, what is the different between all purpose flour and plain flour. please clarify. Jazakallahu Khairah
W/Salaam, they are the same
W/Salaam, they are the same thing. 🙂
assalam oalaekom fauzia have
assalam oalaekom fauzia have been a regular on your site,and have benefitted a lot from your recipes may Allah bless u immensely for your selfless efforts.please can u tell me if i want to make these pizzas for eid how do i store them, baked, half baked or raw? And will they b as yummy as fresh, if made and stored? will b greatly obliged if u could guide me as soon as possible. 🙂
W/Salaam, thank you. The best
W/Salaam, thank you. The best option is to prepare just the bases alone (without the toppings) and half-bake them just until they hold their shape but do not allow them to brown at all. You can then wrap them up and freeze. Have all your toppings/sauce/cheese etc ready so that just before you want to serve, all you need to do is to add your toppings on the partially baked bases and bake together until golden and ready.
jazakillah khair wa ahsanal
jazakillah khair wa ahsanal jazaa e fiddaarain khairun katheerun katheera 🙂
prompt and helpful as always
prompt and helpful as always you’ve always been great at helping us
Assalamalaikum.your recipes
Assalamalaikum.your recipes have more benifited and very tasty.God bless you . waiting new recipes. .!